.png?height=120&name=Untitled%20design(1).png)
Configuration
PrintPushFar’s platform is highly adaptable and there are hundreds of different ways to configure settings.
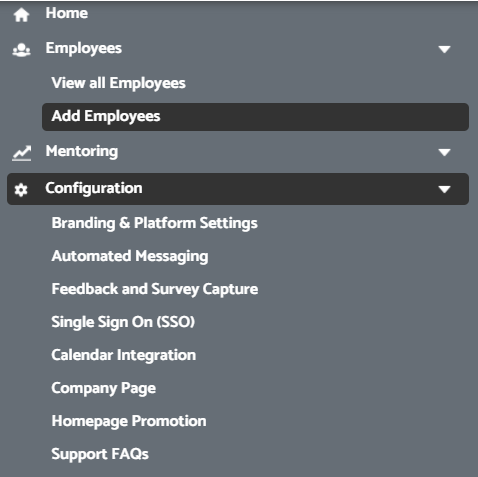
The menu section on the left of the Admin home page, under Configuration, will show the subheadings as above.
Branding and Platform Settings is the page where you will find a significant number of the overall settings. The main things to note here are as follows:
Enable PushFar Points: This will enable the gamification features of PushFar where participants earn points for being active in mentoring and can see a leaderboard of activity
Enable Threads & Conversations: This is the ‘forum’ type feature on the homepage
Capture Organisation Name on Registration: If you have participants joining from lots of different companies, this should be enabled. If you’re using this for an internal programme (such as with employees) this should be disabled.
Force Login via SSO: This should only be enabled if all participants are using SSO and are part of the same internal organisation. This disables participants from setting their own separate password on PushFar.
Enable Working Status Capture on Registration: This would enable the question being put to users about their current working status, ie. retired, working, job seeking
Organisation Manual Registration Approval: If users are selecting to join your organisation, they need to then be approved by admin in order to do so.
Organisation SSO Registration Approval: Users would need the approval to join the organisation even if logging in through Single Sign On.

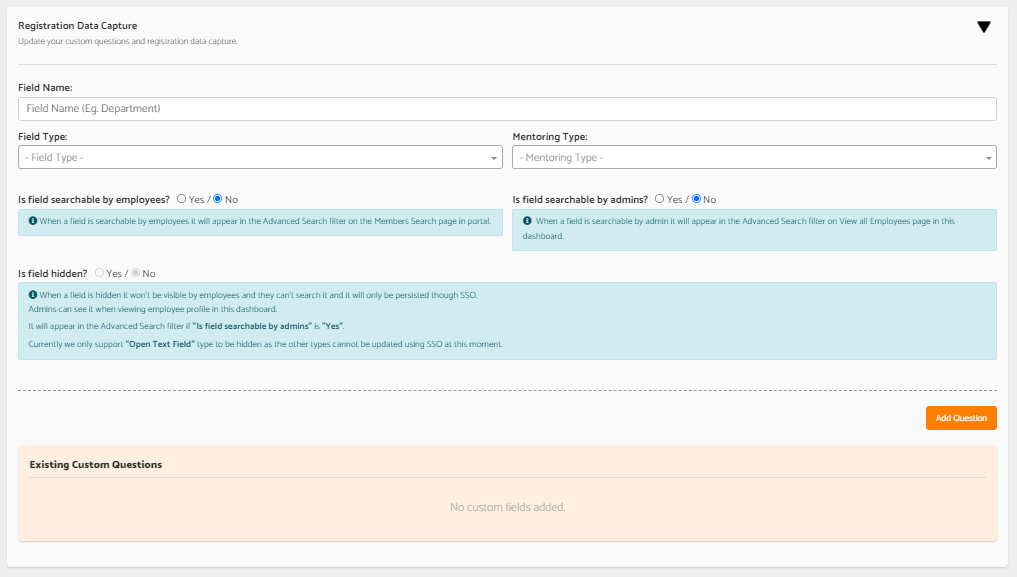
The section ‘Registration Data Capture’ is where you can update your user registration questions. You can add/change these for each programme.
You can also adjust the settings on whether you want the field to be searchable by users or admins. Open Text Fields can be hidden from users and viewable only by admins on the dashboard - When a field is hidden it won't be visible by employees and they can't search it and it will only be persisted through SSO.
It will appear in the Advanced Search filter if "Is field searchable by admins" is "Yes".
Currently, we only support ‘Open Text Field’ type to be hidden as the other types cannot be updated using SSO at this moment.
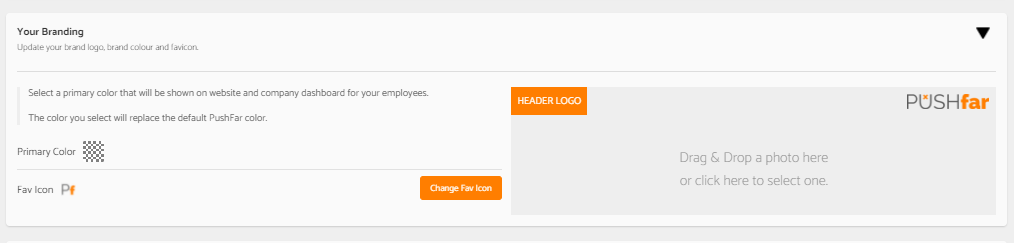
Here you can update your brand logo and colours -
You can also enable/disable any search feature functionality within the platform -

Within PushFar’s platform we send a number of triggered, automated emails to participants. These are to help participants to stay on track with their mentoring and engaged with your programmes. These emails are sent directly to an individual’s registered email inbox, so even if they are not logged in to PushFar, they will be reminded to do so. Automated Messaging is where you can enable/disable AND edit any email correspondence being sent to users.
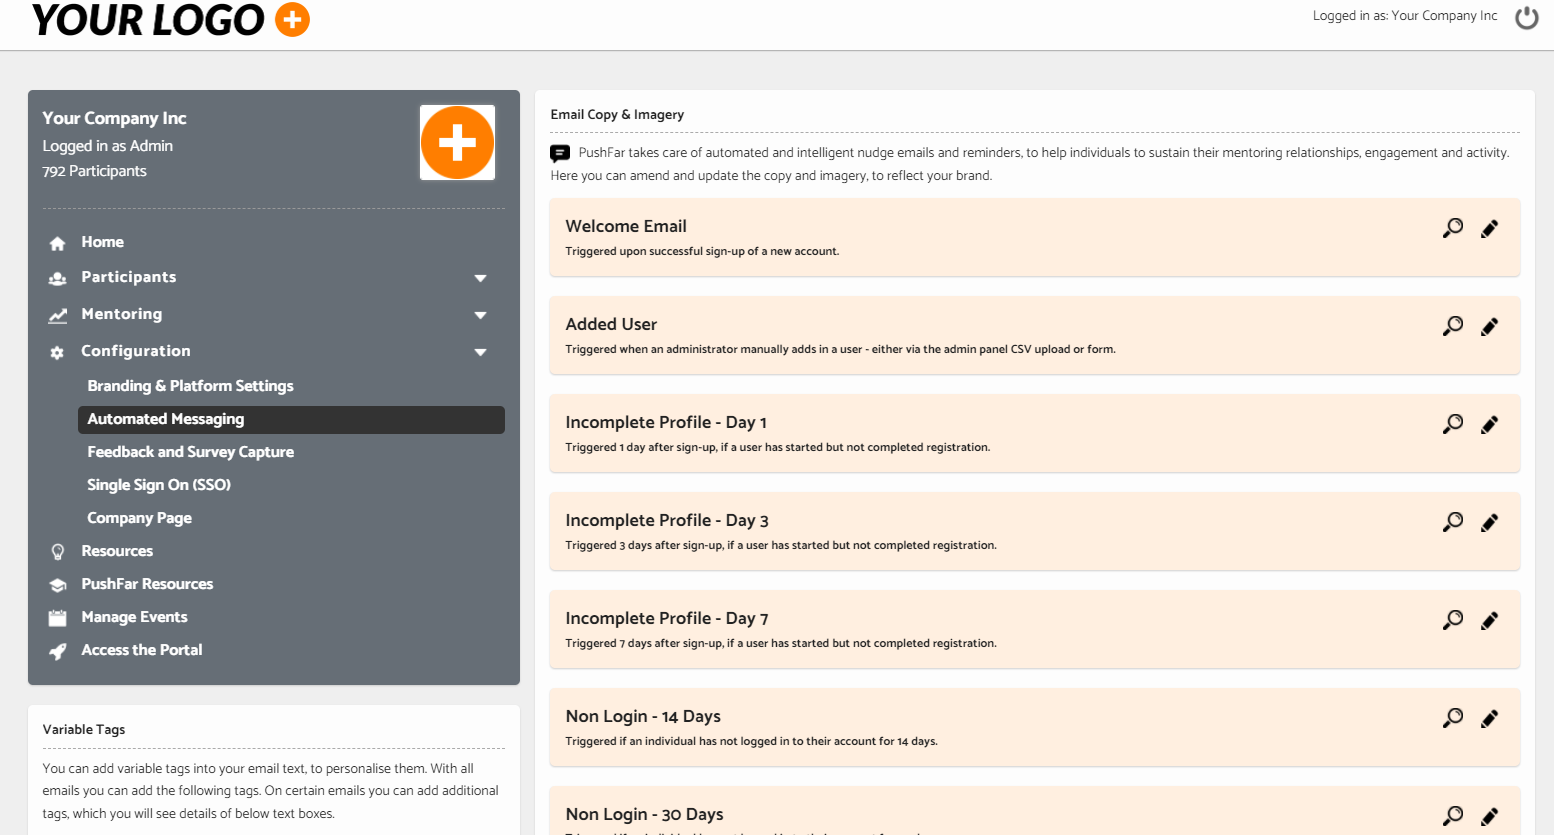
Within the ‘Automated Messaging’ page, you will see a list of all the automated trigger emails that the system sends. By default, all emails are enabled. You can edit the subject line, text and in some cases the images, by selecting the email. You can also disable an email by toggling the ‘enabled’ switch on the left-hand side. Clicking ‘preview’ shows a preview of the email.
Users will receive email notifications of any meeting requests or actions that need to be taken, unless you have disabled any, along with push notifications through our apps. If Users are not receiving these then it may be the firewall settings. If they are not showing in your junk/spam folder, you may need to contact your organisations IT department and ask them to whitelist the email info@pushfar.com
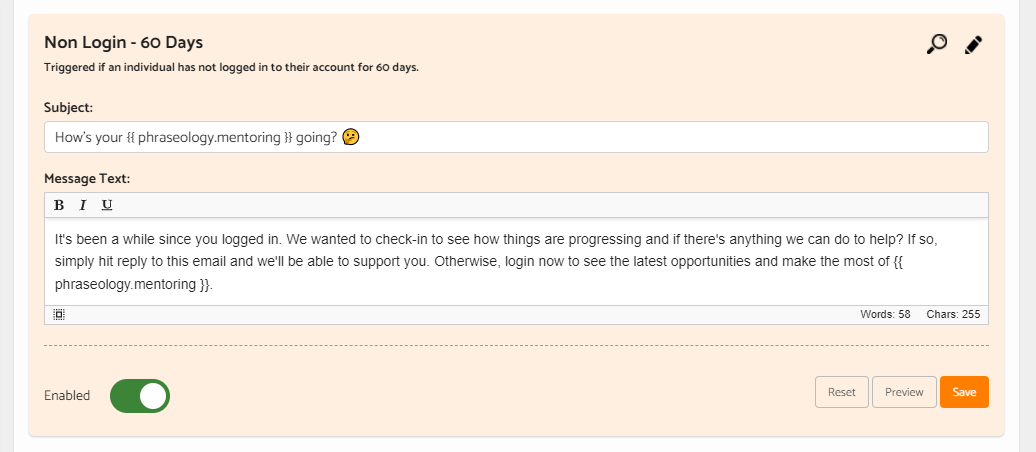

On the bottom left of this page you also have the option to adjust the tags and wording across all emails, and send a new email to all users.
Feedback and Survey capture is where you can customise how you receive feedback from mentors/mentees, and how often/who can view this feedback. You can also add your own custom feedback questions.
By default, this is done at the end of a mentoring relationship. However, under the ‘Feedback and Survey Capture’ page you can also change the feedback frequency (such as monthly or quarterly) and also the feedback visibility, as well as the questions being asked.
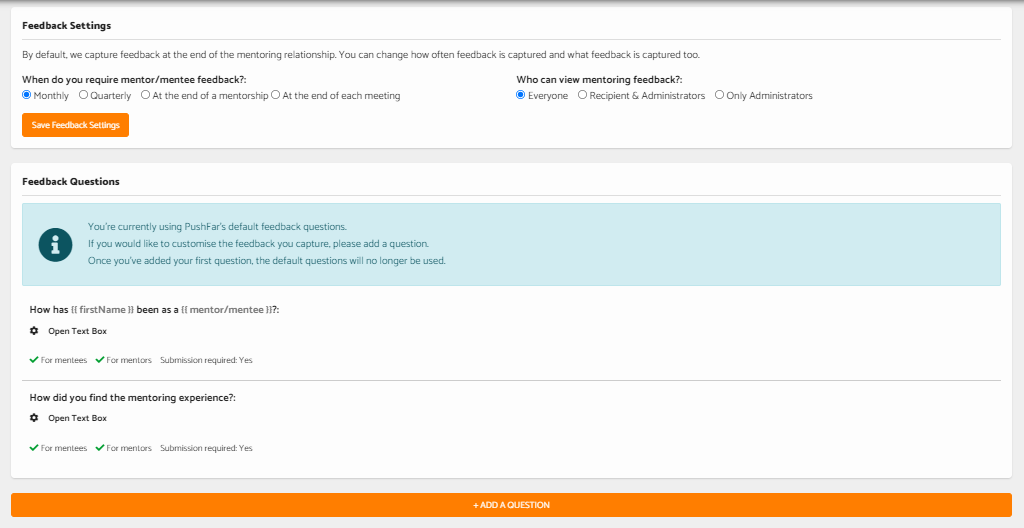
To change the questions from our defaults, select the ‘+ Add a Question’ button at the bottom of the page. This will remove our default questions and allow you to add your own in.
When adding a question, you can choose whether you would like it to be a qualitative question (such as a free open text box) or a quantitative question (such as a dropdown). You can also add placeholders to pull through peoples’ names or mentoring types and choose whether to ask the question of the mentor, mentee or both.
Viewing the feedback:
To view any captured feedback, you can navigate to ‘Mentoring Reports’ and within this see a list of each mentoring relationship and the feedback associated with it. In cases where you would like to bulk export the feedback, you can do this using the ‘Export Feedback’ button on the mentoring reports.
Note that if you have asked for ‘monthly’ feedback capture, this will only start to be requested after the second month, to ensure mentors and mentees have enough time to begin the mentoring relationship first.
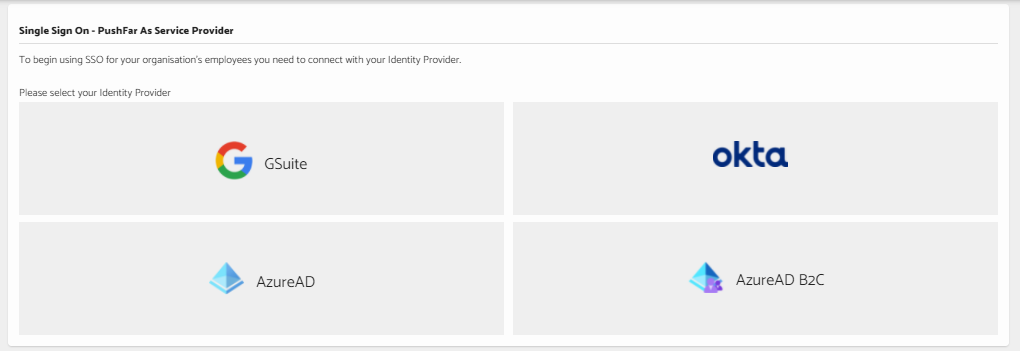
Single Sign on (SSO) is the page you can enable this feature for your users -
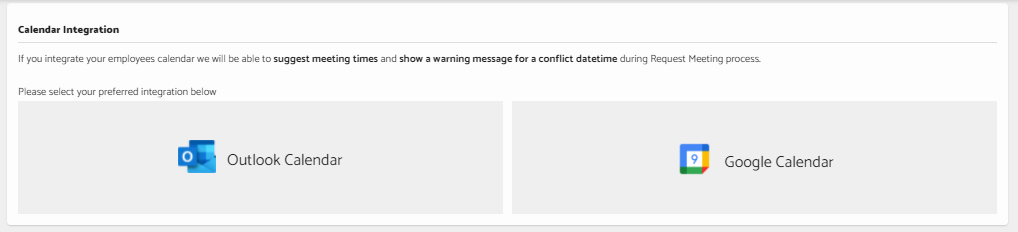
Calendar Integrations - If you integrate your employees calendar we will be able to suggest meeting times and show a warning message for a conflict datetime during the Request Meeting process. The calender integration is enabled/disabled through the admin panel only, users cannot adjust this currently.
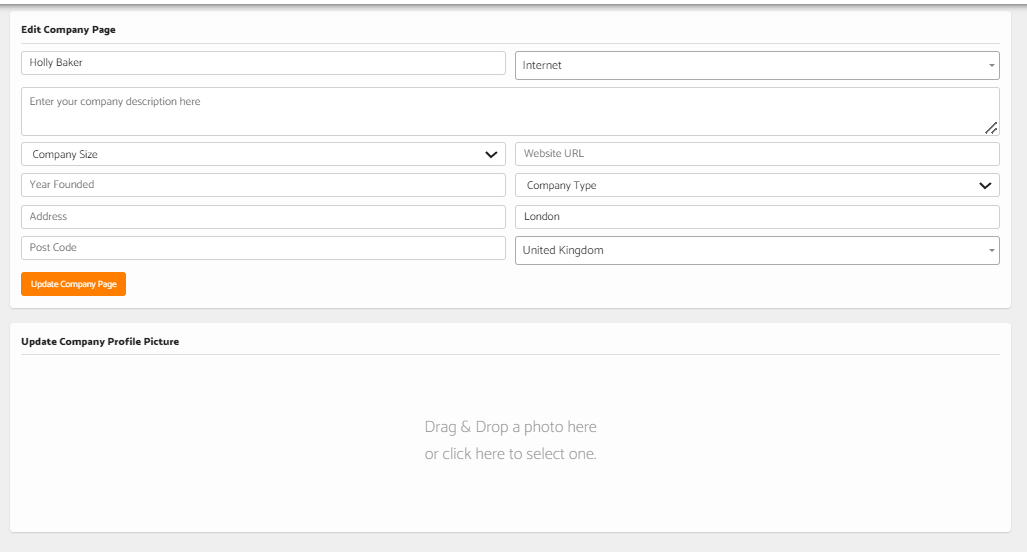
Company Page - editing the information and profile picture for the company -
Homepage Promotion - here you can add in any sponsorship details you wish to include on your users home pages, or any training.

Support FAQs - when a user clicks ‘Support’ they can view our default FAQs but you can add in your own on this page in the admin panel.

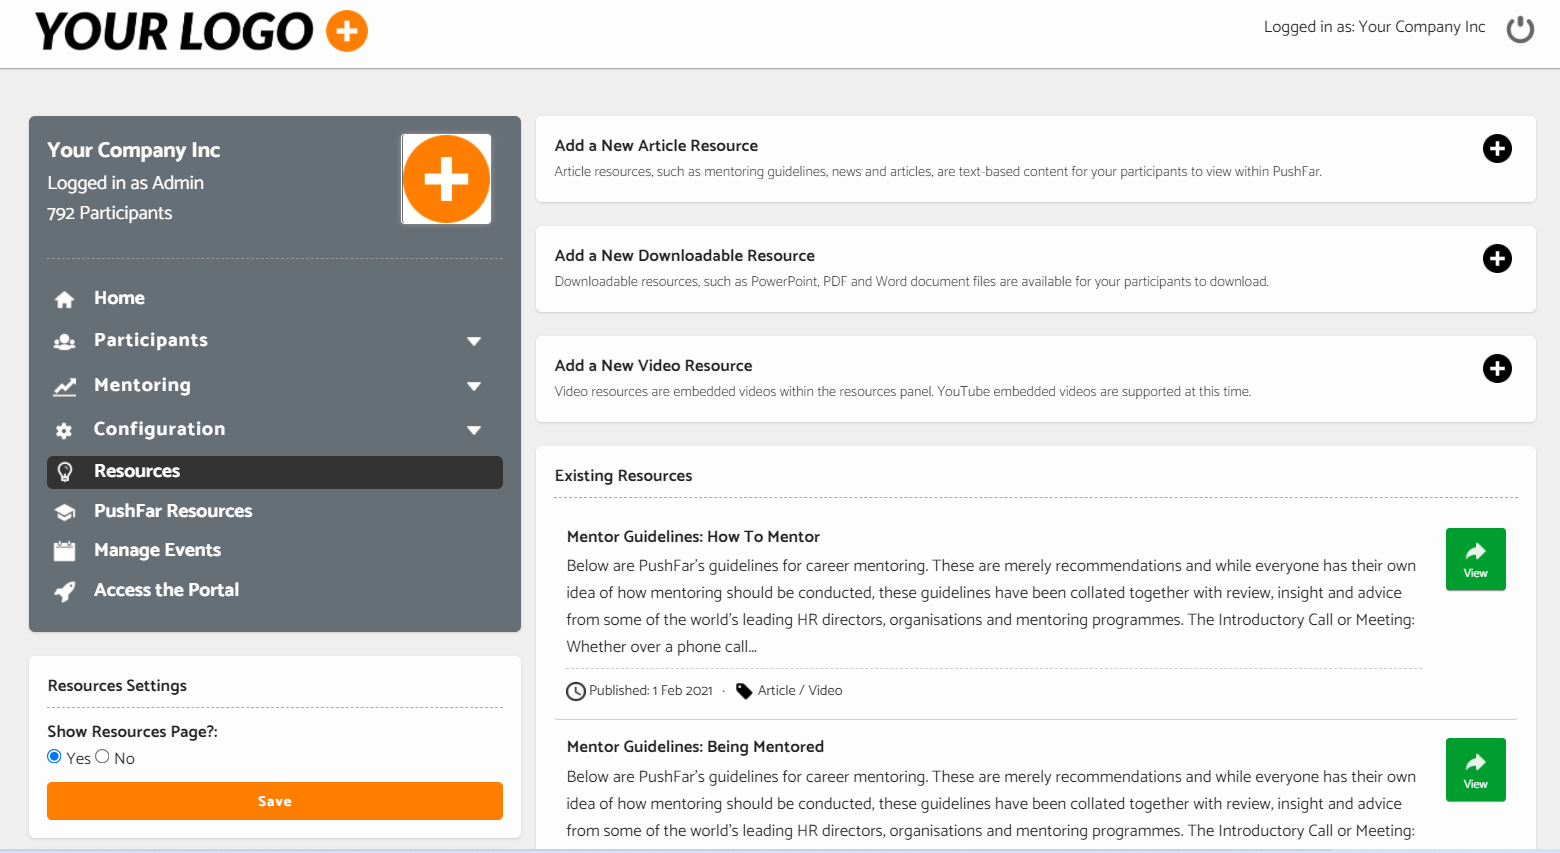
Resources -
As standard when a user clicks ‘Resources’, they will be able to access the default PushFar resources, but you can enable/disable the resources feature on his page on the left hand side. Or, you can add your own in.
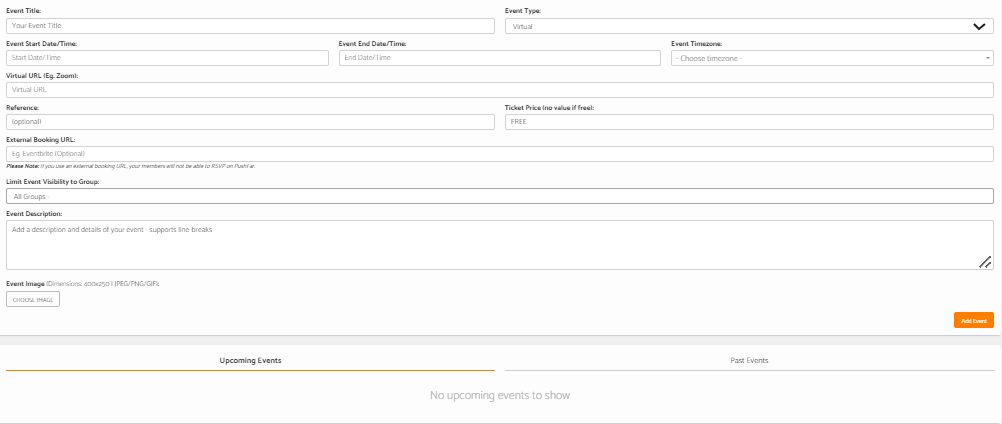
Manage events -
Add any event and this will show on the homepage for your users, they can RSVP to these and you can track attendees.
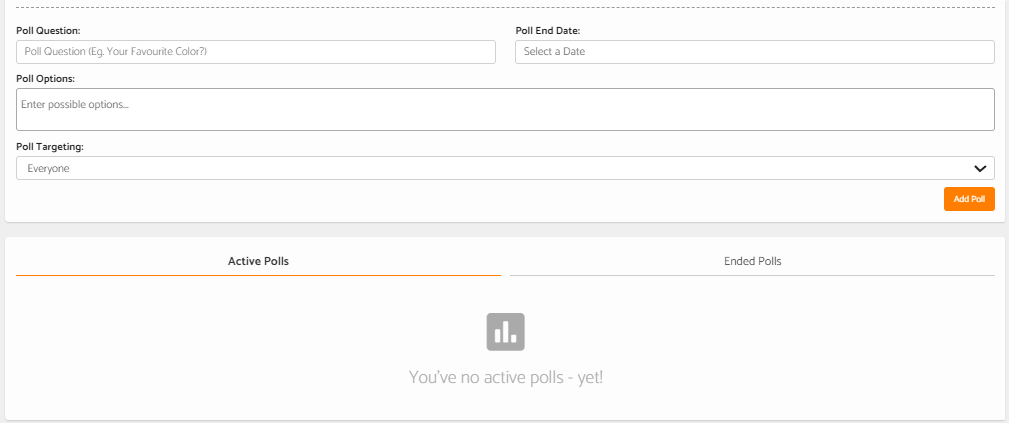
Pulse Polls -
You can add polls to the homepage to get a sense of feedback from users.
New features -
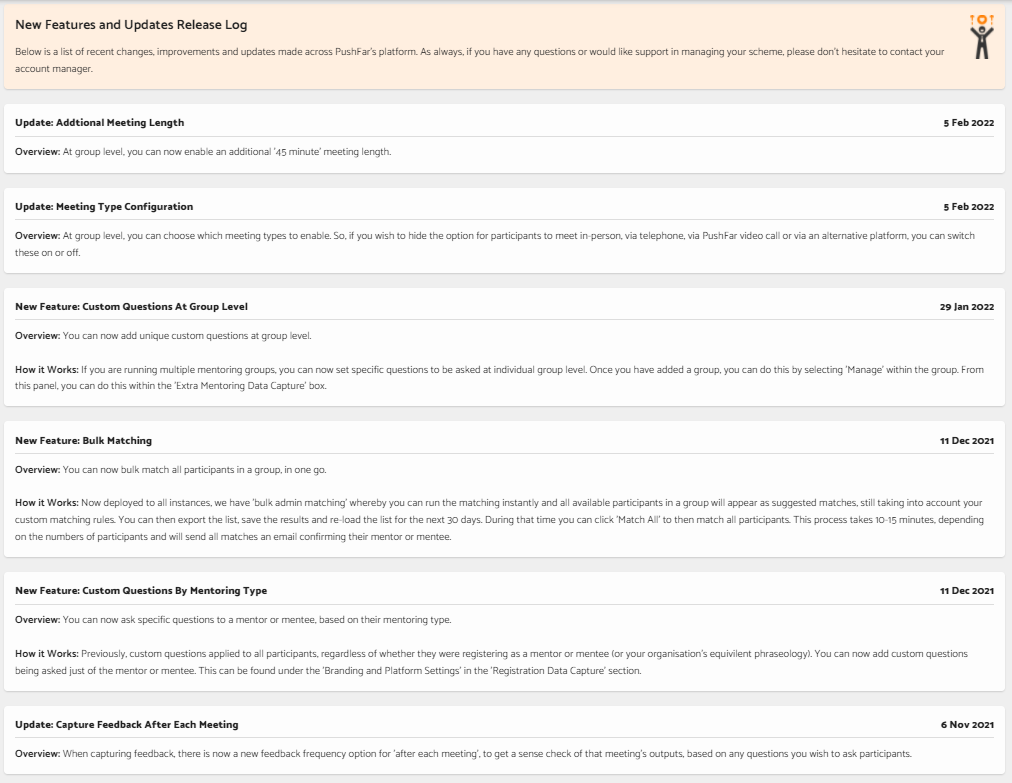
Here is a list of recent changes, improvements and updates made across PushFar's platform. As always, if you have any questions or would like support in managing your scheme, please don't hesitate to contact your account manager.
PushFar's Resources -
On this page is a wealth of resources for you to access, helping you to launch and run engaging, thriving and successful mentoring programmes. From comms guidelines to measures of success, we have a wealth of e-books and downloads. It doesn't end there though, we're here to help at any time so you can get in touch with your account manager or email info@pushfar.com for direct support at any time throughout your programmes.